Having frequent one on one meetings is one of the most powerful resources a team can use to strengthen communication, align priorities and measure the impact their efforts are having on the company.
Regular check-ins, especially between a manager and his or her team, are a crucial part of most employee workflows. What better way to encourage this engagement than providing an infrastructure for meetings which is tied to broader discussions about goals and performance?
How to setup and kick off a 1:1 meeting
There are two routes to setup a 1:1 meeting.
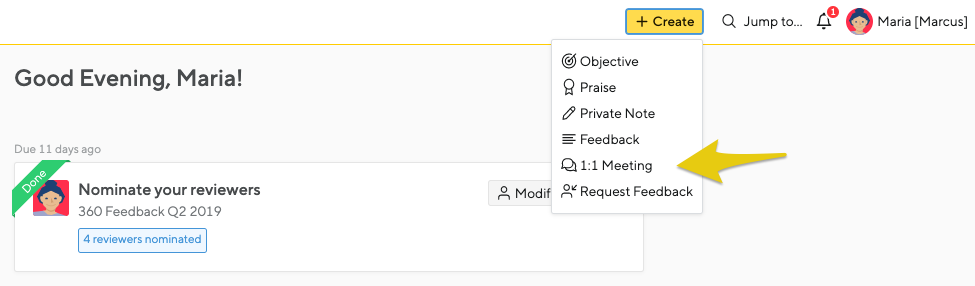
Method 1: Using +Create anywhere in the application
- Click the “+Create” button in your top navigation bar and select ‘1:1 Meeting’.
- Choose the other participant using the search field, or navigate directly to your 1:1 Meeting home page.
- Once a co-worker is selected, you’ll be redirect to the 1:1 Meetings page between you and them. This is your go-to place for all the meetings between you and your co-worker.
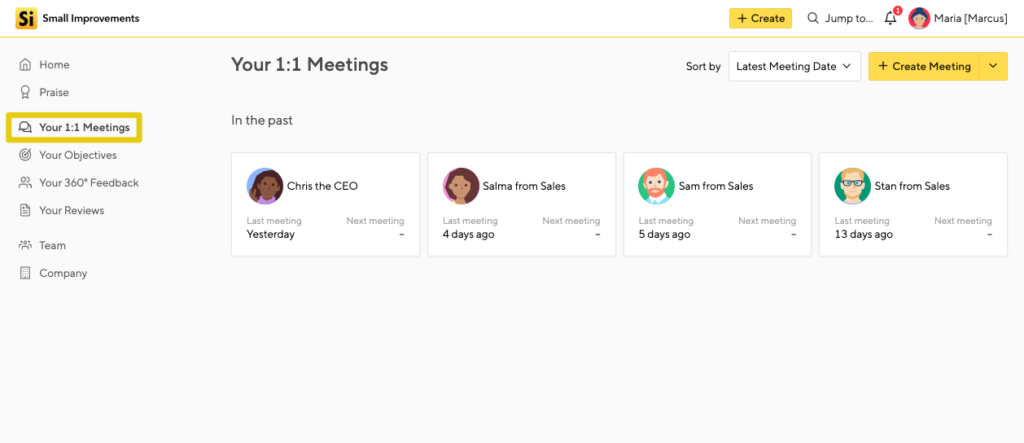
Method 2: Browse 1:1 meeting tab and choose from your team members
- Choose ‘1:1 Meetings’ from the navigation on the left-hand side of your screen
- Here you’ll see a list of your existing 1:1’s and also your team members too (especially handy if you’re a manager of many team members). Click on one of the users.
- Additionally, you could also set up a 1:1 Meeting with anyone in your company by clicking the ‘+ Create Meeting’ button and searching for the user.
Customizing the 1:1 meeting
When setting in your 1:1 meeting, you have the option to set a title for the meeting, a date, a time, add attachments, share visibility with HR or the management chain, add templated talking points, and more. Watch the gif below for a full loop example.
1:1 Meetings Overview
From this page, you’re able to manage all of the 1:1’s you have with your colleague. Each meeting is made up of the following:
Each participant can add their own Talking Points and Notes, and these are shared with the other participant by default, but can remain private. Please read further for more information on Talking Points and Notes.
Meetings Search
The Meetings Search menu allows you to search for previous meetings quickly. That’s a great way to understand the development of certain dialogue and conversations with your manager or report:

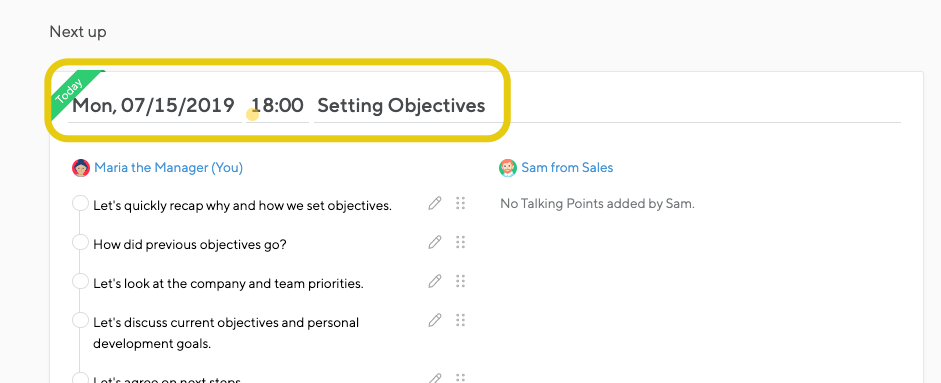
Meeting Date, Time, and Title
There is an easy option to timestamp your meeting, which can be useful when looking back through frequent check-ins. You have the option to create multiple upcoming meetings, with the dates and times set.
Titles allow you to set the theme or topic of the meeting and search easily for it at a later point.
Calendar link
Also included is the ability to link directly to the meeting hub. So if you have a standing invite for 1:1s in your shared calendar of choice, you can put the link there!
Setting talking points
One of the main attractions of the feature is the ability to set some agenda items prior to the 1:1. Both meeting participants can set areas of discussion they want to address, using them as a handy reference point to keep the conversation on track.
You have the flexibility to have both private and shared Talking Points in the same meeting, can edit at any point, or delete. You could potentially compose the topics and make adjustments with private visibility, and then right before the meeting, make them available for both participants to review.
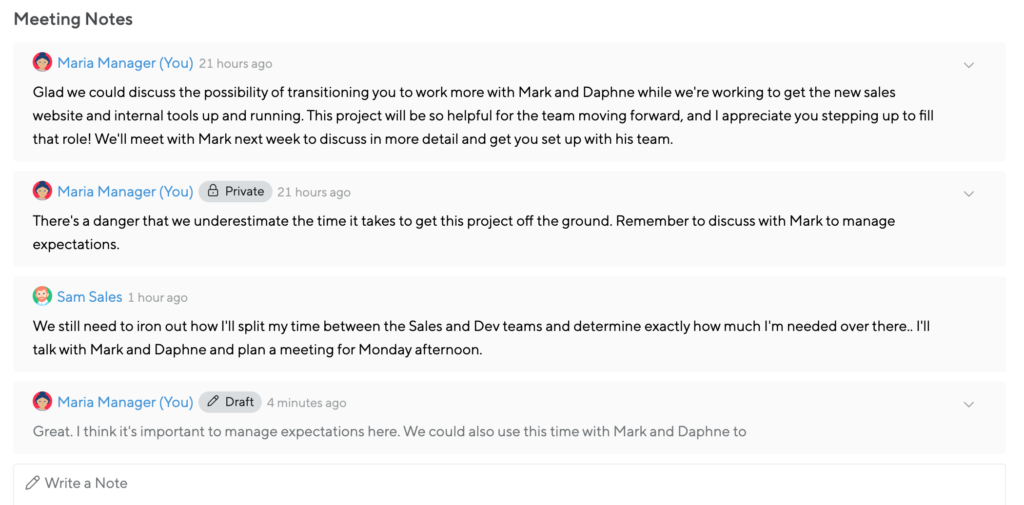
Adding meeting notes and attachments
During the meeting, the opportunity to take notes or set actions items before the next check-in might arise. Both meeting participants can jot them down in real-time, or transfer notes into Small Improvements once the meeting is complete. The notes can become points of reference / actions items for future 1:1s. Meeting Notes save automatically as you draft them. Once you’re finished drafting your note, click “Add note” to share it with the other participant. If you would prefer to keep the note private, check the “visible only to me” box.
You’ll find the link to add an attachment below your meeting notes. Files can be visible to everyone who can see the meeting, or private and visible to only you.
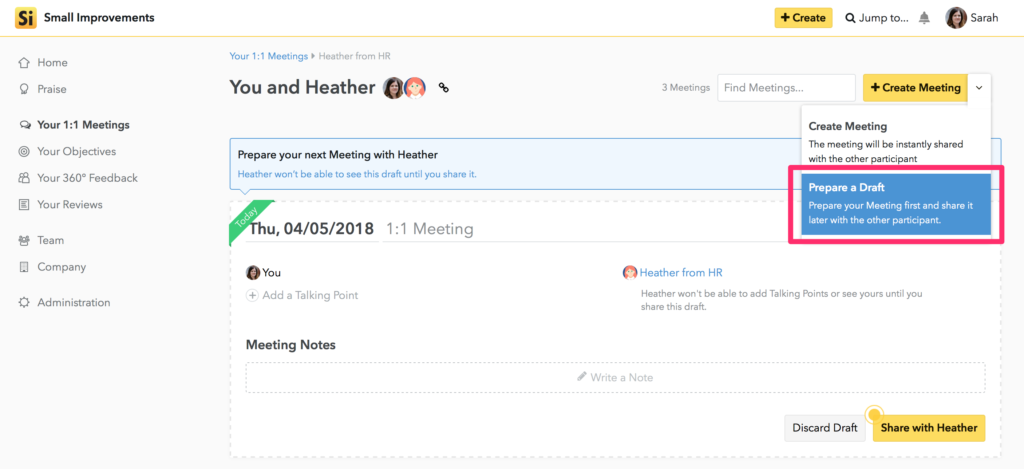
Meeting Drafts
You have the option to create drafts you’re not quite ready to share:
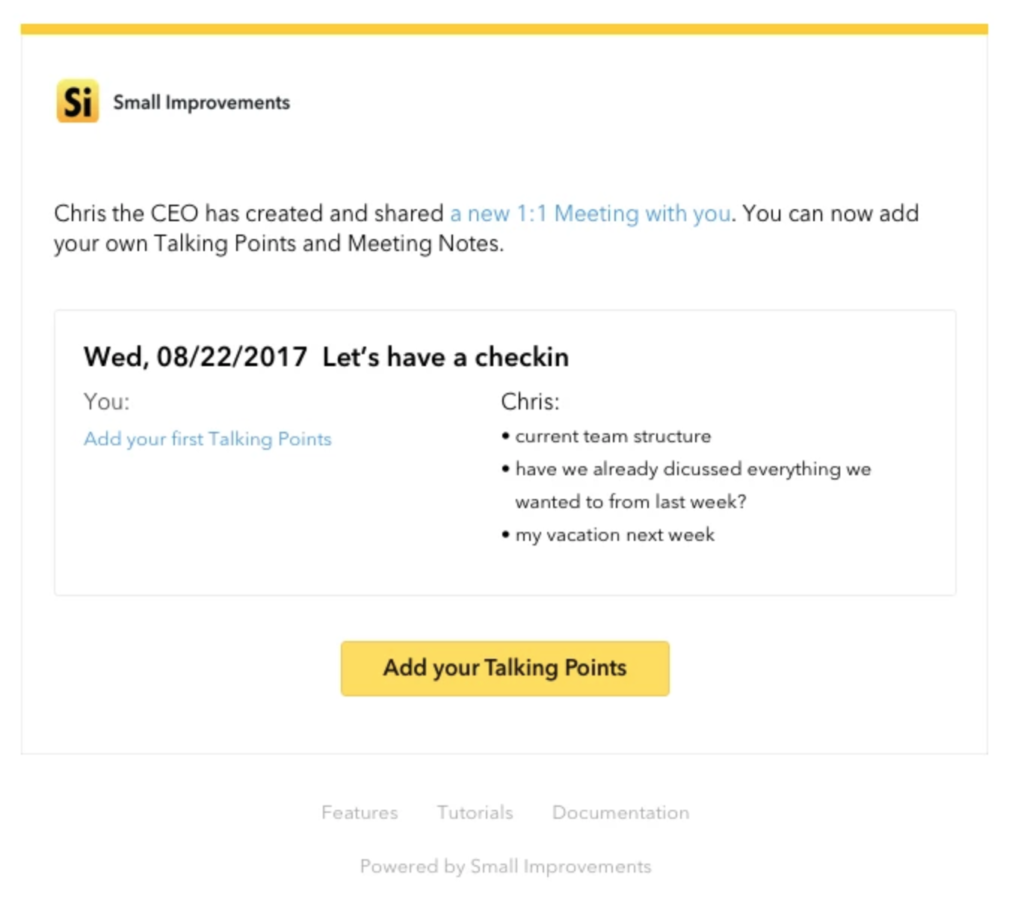
Notifications
If you are initiating a meeting with a colleague, it will trigger an email notification to them. Delivered to their inbox, it looks like this:
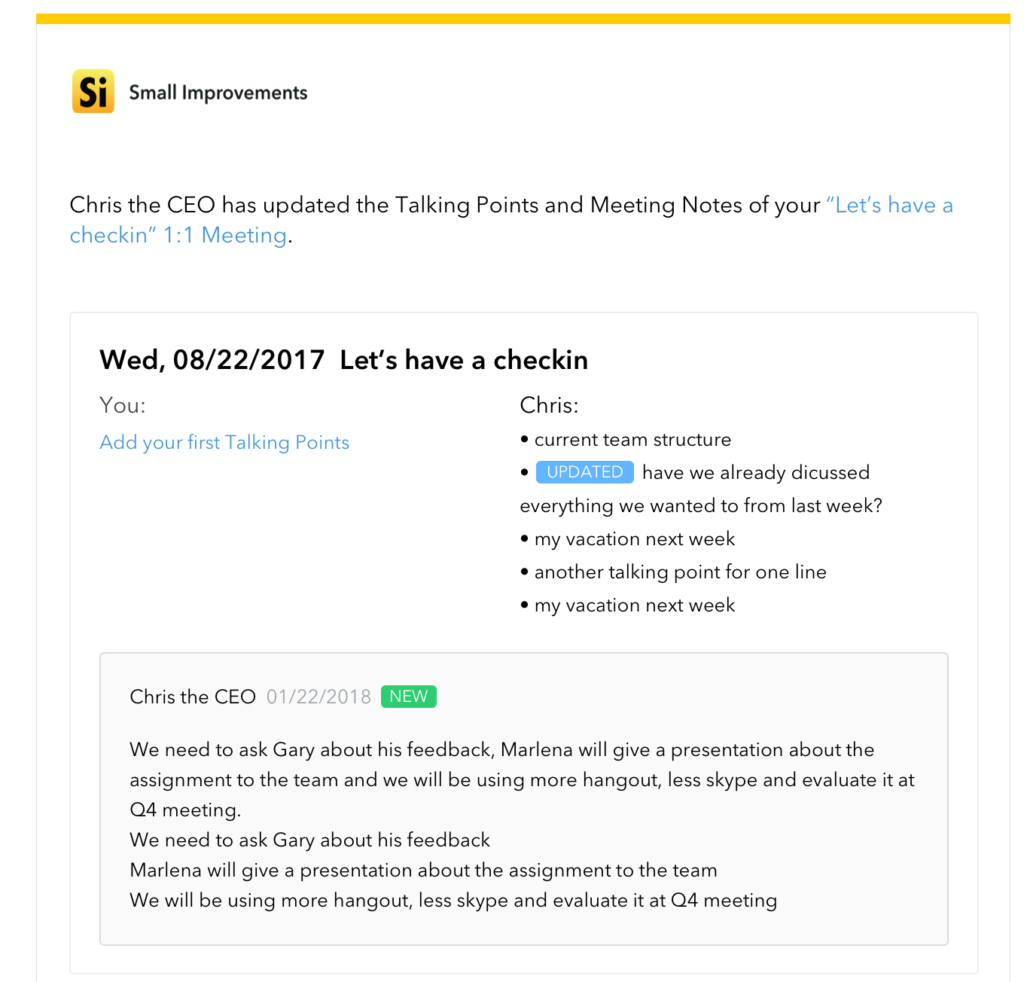
Talking point updates as email notifications
When Talking Points are adding to a meeting, you’ll see the newly added talking points highlighted in the email notification that you receive, as ‘NEW’.
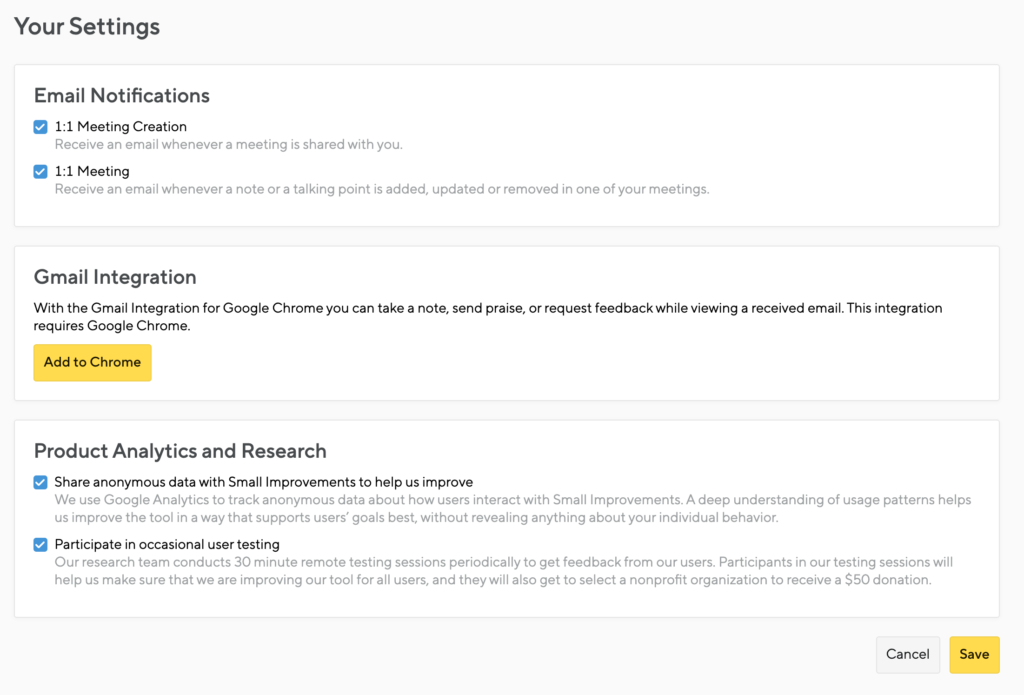
Disabling Notifications
If you would like to disable 1:1 notifications to your inbox, you can do this by:
- Hovering over your profile pic in the upper right corner of your screen
- Clicking into your profile menu and selecting “Your Settings”
- Uncheck both “1:1 Meeting Creation” and “1:1 Meeting”